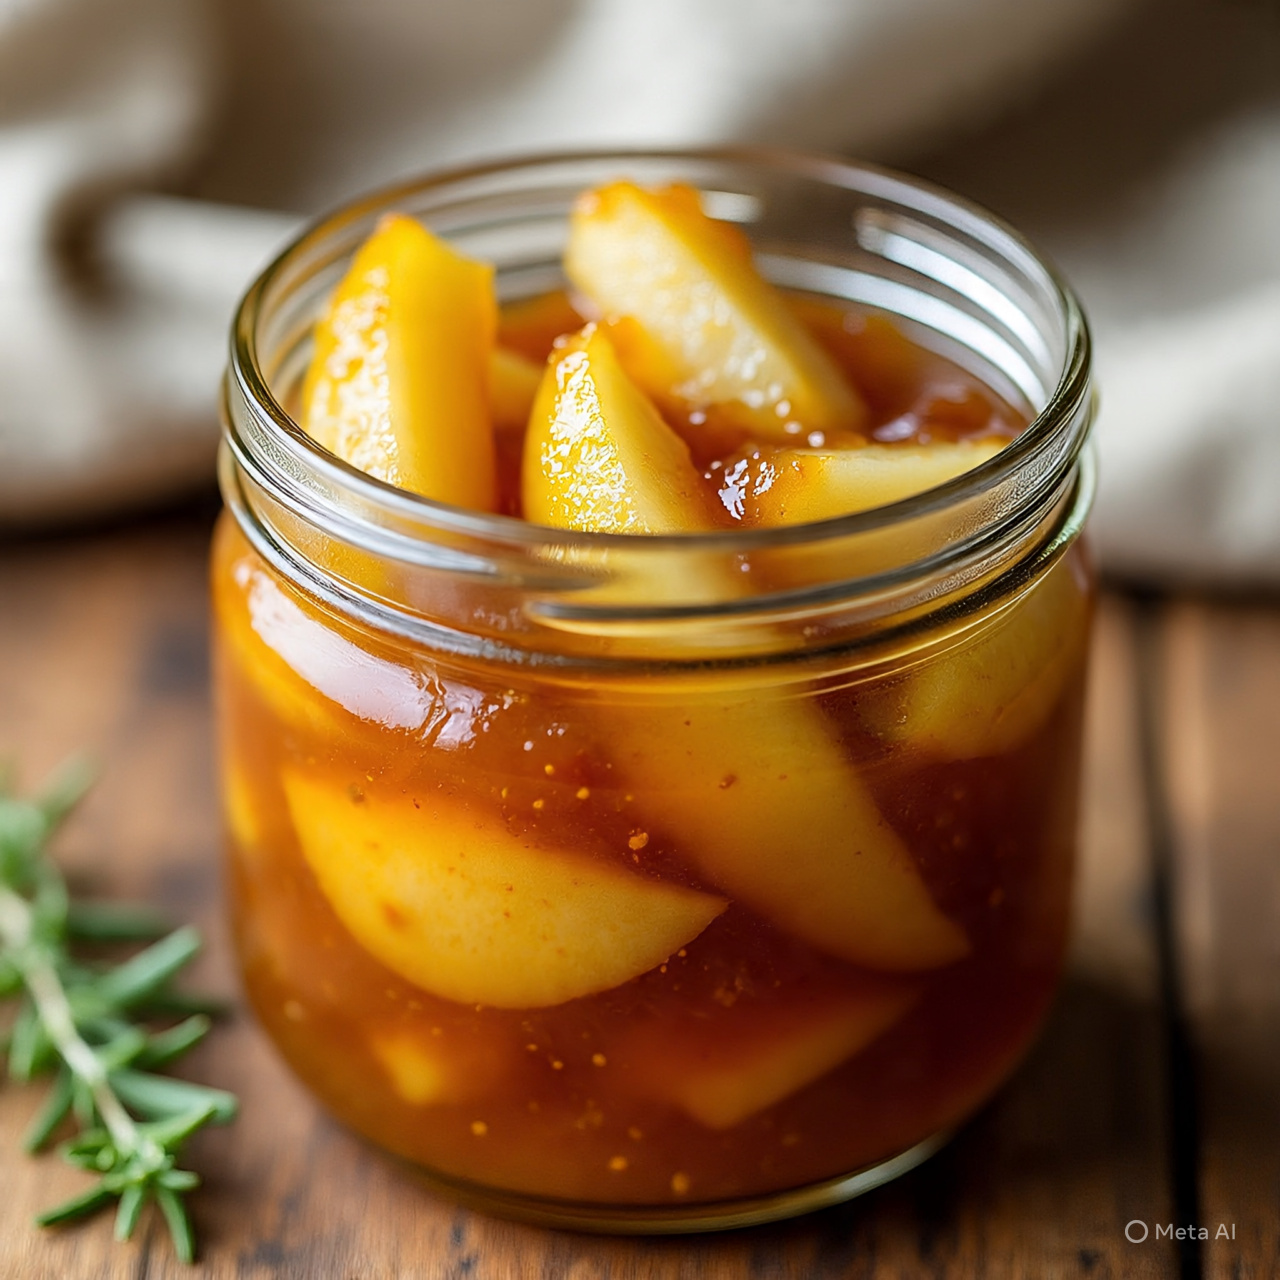
Quick & Easy Homemade Pear Jam
If you’ve ever wanted to capture the taste of ripe, juicy pears in a jar, this Quick & Easy Homemade Pear Jam recipe is exactly what you need. It’s sweet, fruity, and full of comforting flavors — the kind that makes breakfast feel a little extra special.
Making jam at home might sound complicated, but it’s actually super simple! With just a few ingredients and some patience, you can create a smooth, flavorful pear jam that tastes way better than store-bought. Let’s dive into this easy recipe that anyone can master.
Why You’ll Love This Recipe
Here’s why this pear jam will become your new favorite homemade spread:
Quick to make – Only a few steps and minimal effort.
Uses simple ingredients – You probably already have everything at home.
Natural sweetness – Pears give it a naturally rich, fruity flavor.
Perfect for gifts or storage – You can enjoy it all year long!
Whether you spread it on toast, swirl it into yogurt, or serve it with pancakes, this jam is a little jar of joy.
Ingredients You’ll Need
You only need a handful of ingredients to make this homemade jam:
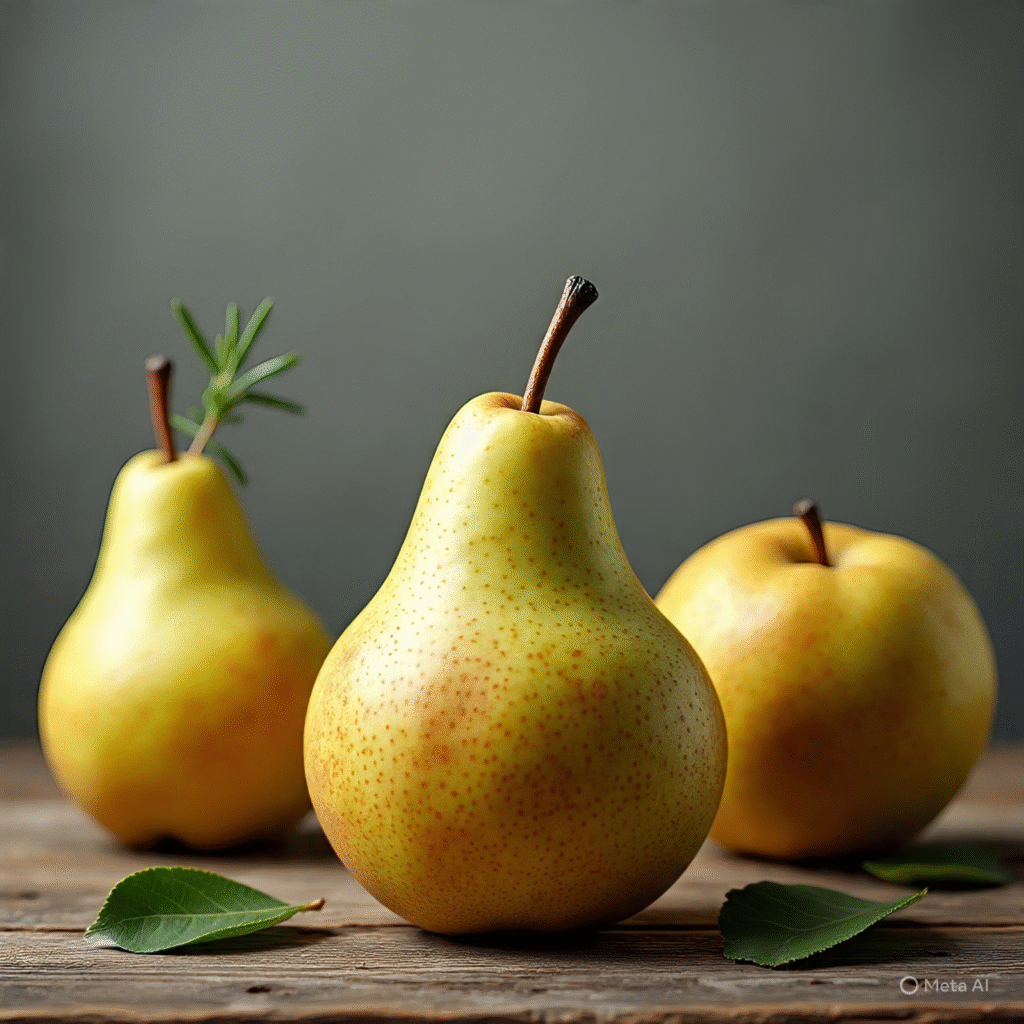
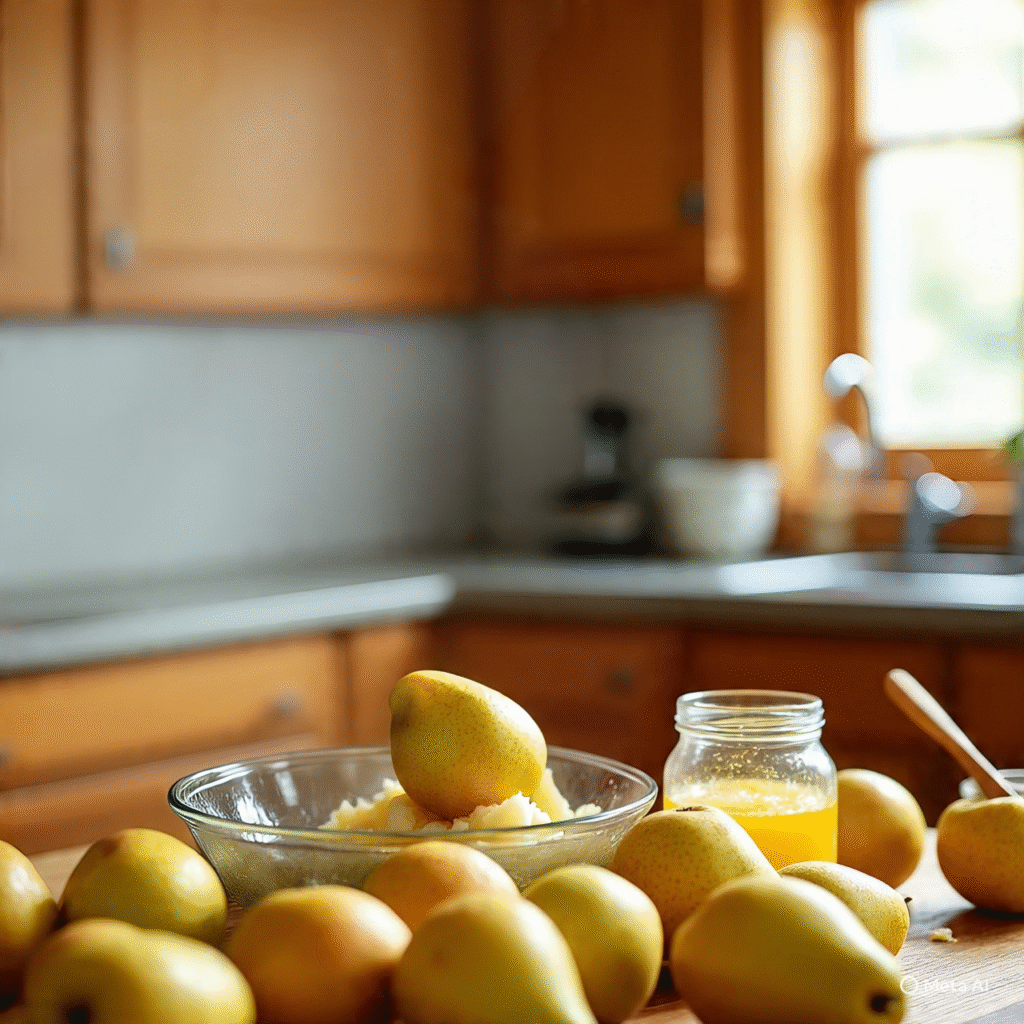
- 4–5 ripe pears (peeled, cored, and chopped)
- 1 cup sugar (adjust to taste)
- 1 tablespoon lemon juice (for freshness & natural preservation)
- ½ teaspoon cinnamon (optional, for a cozy flavor)
- ¼ cup water
That’s it! No artificial flavors, no preservatives, and no fancy equipment.
Step-by-Step Instructions
Step 1: Prepare the Pears
Start by washing, peeling, and removing the cores from your pears. Chop them into small pieces — this helps them cook faster and gives your jam a smooth texture.
See also: Moist Pumpkin Muffin Recipe – Easy, Fluffy, and Delicious
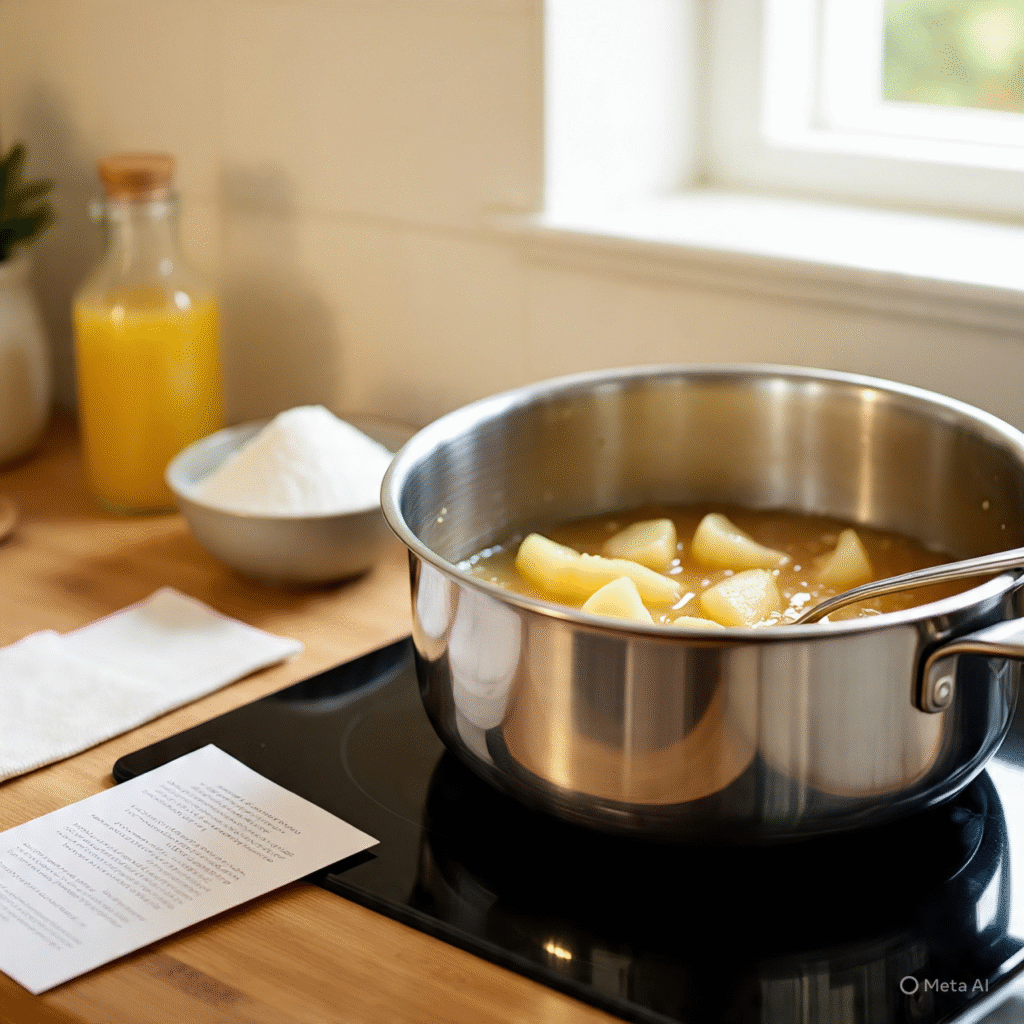
Step 2: Cook the Pears
In a medium-sized saucepan, add chopped pears and water. Cook on medium heat for about 10–12 minutes, until the pears become soft and tender. Stir occasionally so they don’t stick to the bottom.

See also: Marry Me Chicken Soup Recipe – Creamy Comfort Made Easy
Step 3: Mash the Pears
Once soft, use a potato masher or the back of a spoon to mash the pears. You can leave some small chunks if you like your jam a bit rustic.
Step 4: Add Sugar and Lemon Juice
Add sugar and lemon juice to the mashed pears. Stir well to mix everything. The lemon juice balances the sweetness and helps the jam set naturally.
See also: Garlic Parmesan Zucchini Recipe – Easy, Flavorful, and Healthy
Step 5: Simmer the Mixture
Continue cooking on low flame for another 15–20 minutes, stirring often. You’ll notice the mixture thickening and turning glossy.
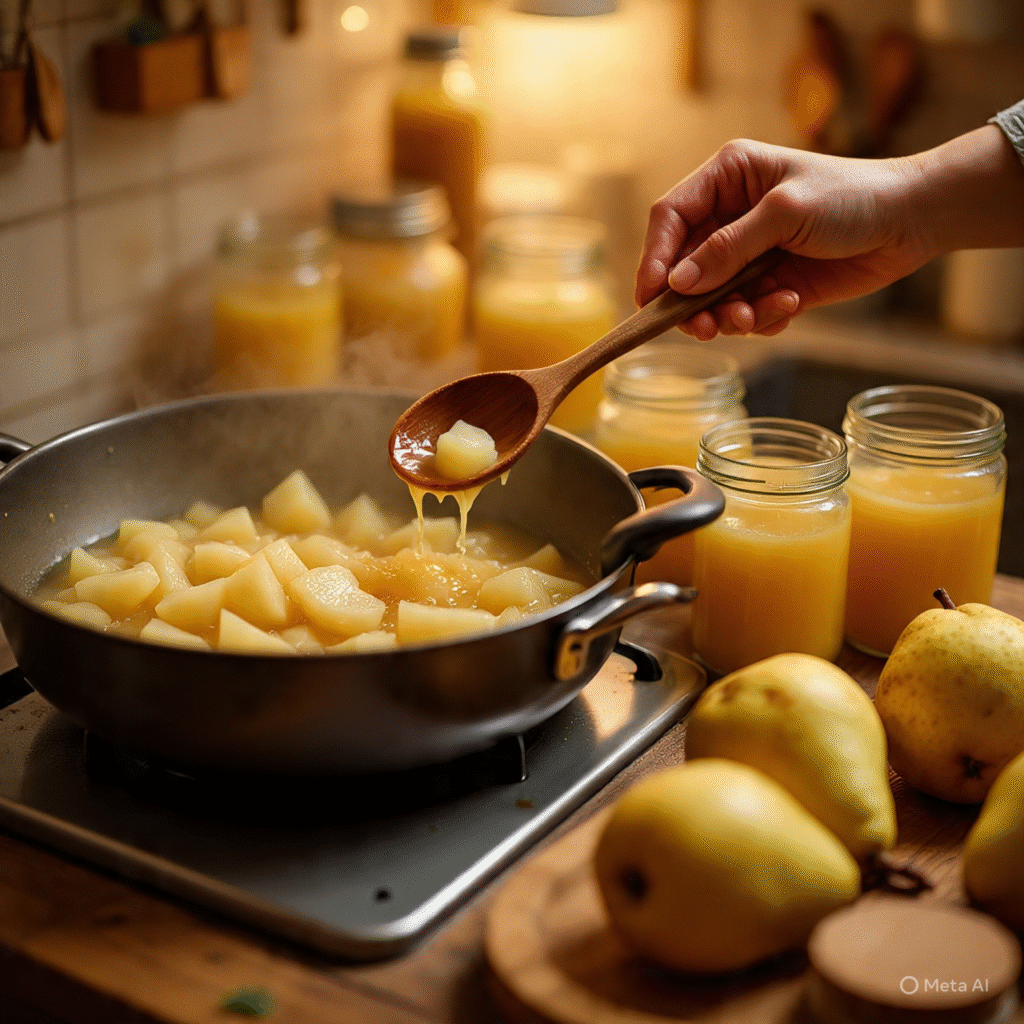
Pro Tip: To check if your jam is ready, drop a small spoonful on a chilled plate. If it wrinkles slightly when you push it — it’s done!
Step 6: Add Cinnamon (Optional)
If you love warm flavors, stir in a pinch of cinnamon at the end. It adds a cozy, aromatic touch that pairs perfectly with pears.
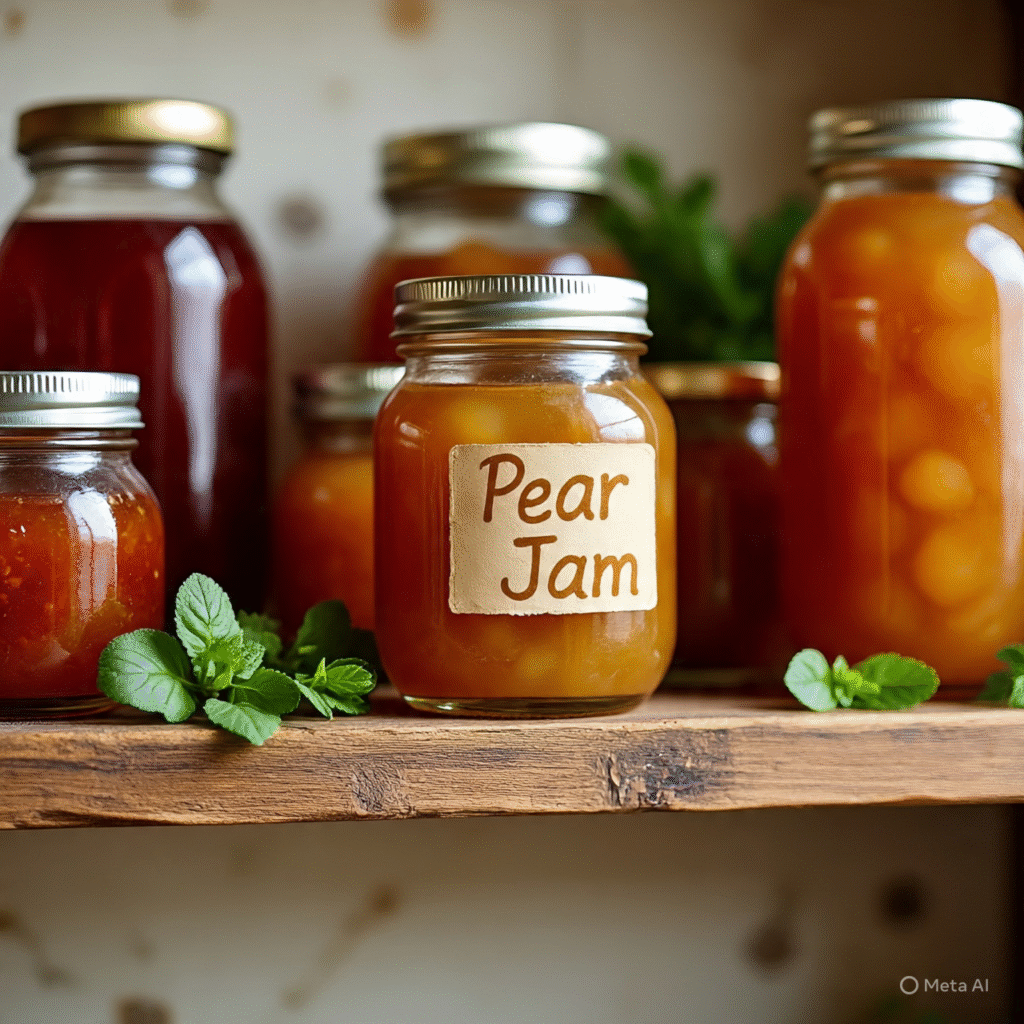
Step 7: Store Your Jam
Once done, let the jam cool slightly. Pour it into clean, sterilized glass jars and seal tightly.
How to Serve Pear Jam
Your Quick & Easy Homemade Pear Jam is ready to enjoy! Here are a few delicious ways to serve it:
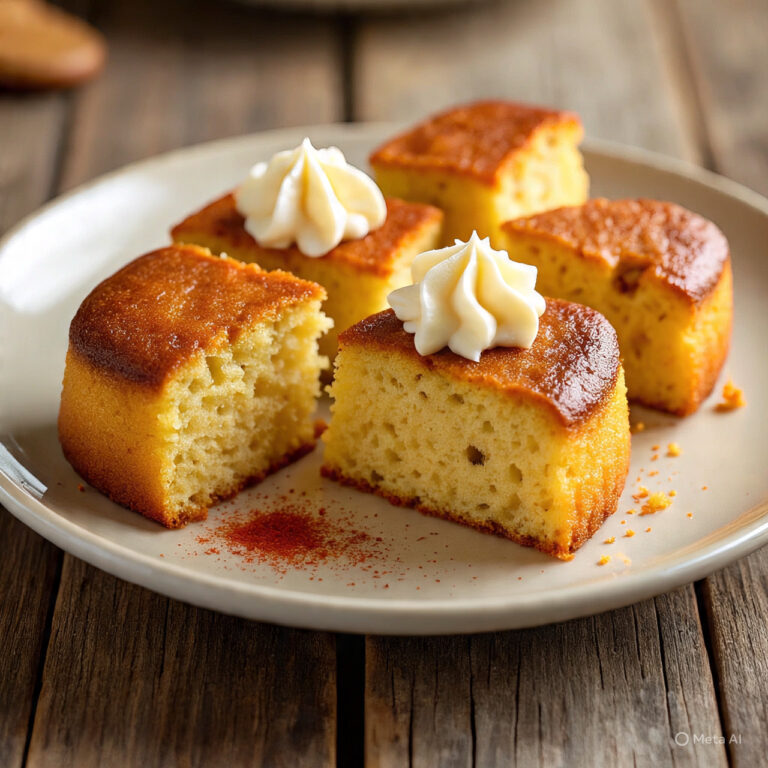
- Spread on warm toast, croissants, or muffins
- Drizzle over pancakes, waffles, or oatmeal
- Swirl into yogurt or cottage cheese
- Use as a filling for cakes, tarts, or cookies
- Pair with cheese and crackers for a fancy snack
It’s sweet, versatile, and adds a comforting homemade touch to any meal.
Storage & Shelf Life
Homemade jams can last quite a while if stored properly:
- Room temperature: Up to 1 week, if sealed tightly.
- Refrigerator: Stays fresh for up to 3 weeks.
- Freezer: For longer storage, freeze for up to 3 months in an airtight container.
Always use a clean, dry spoon to scoop the jam — this helps it stay fresh longer.
Variations to Try
You can easily customize your pear jam! Try these tasty variations:
- Ginger-Pear Jam: Add ½ teaspoon of grated fresh ginger for a spicy twist.
- Honey-Pear Jam: Replace half the sugar with honey for a lighter sweetness.
- Pear-Vanilla Jam: Add a few drops of vanilla extract for a warm, dessert-like flavor.
- Spiced Autumn Jam: Mix in nutmeg or cloves for cozy fall vibes.
Experimenting with flavors keeps your jam exciting every time you make it.
Helpful Tips
Choose ripe but firm pears — too soft, and they’ll turn mushy.
Always stir regularly to prevent sticking or burning.
If you like smooth jam, blend it before storing.
Sterilize jars properly for longer shelf life.
Summary
This Quick & Easy Homemade Pear Jam is more than just a recipe — it’s a beautiful way to preserve the flavor of fresh pears and share it with your loved ones. With its natural sweetness, smooth texture, and simple ingredients, it’s a must-try for anyone who loves homemade goodness.
In just a few easy steps, you can turn ordinary pears into something truly special. So, grab those ripe pears from your kitchen counter and start making your own delicious pear jam today — your breakfast table will thank you!
FAQs about Homemade Pear Jam
Can I reduce the sugar in this recipe?
Yes, you can adjust the sugar to your taste — just note that less sugar may slightly reduce shelf life.
How long does homemade pear jam last?
It stays fresh for up to 3 weeks in the fridge or 3 months in the freezer when stored properly.
Can I make pear jam without pectin?
Yes! Pears naturally contain pectin, so your jam will thicken perfectly without adding extra.
What type of pears work best for jam?
Use ripe yet firm varieties like Bartlett, Bosc, or Anjou for the best texture and sweetness.